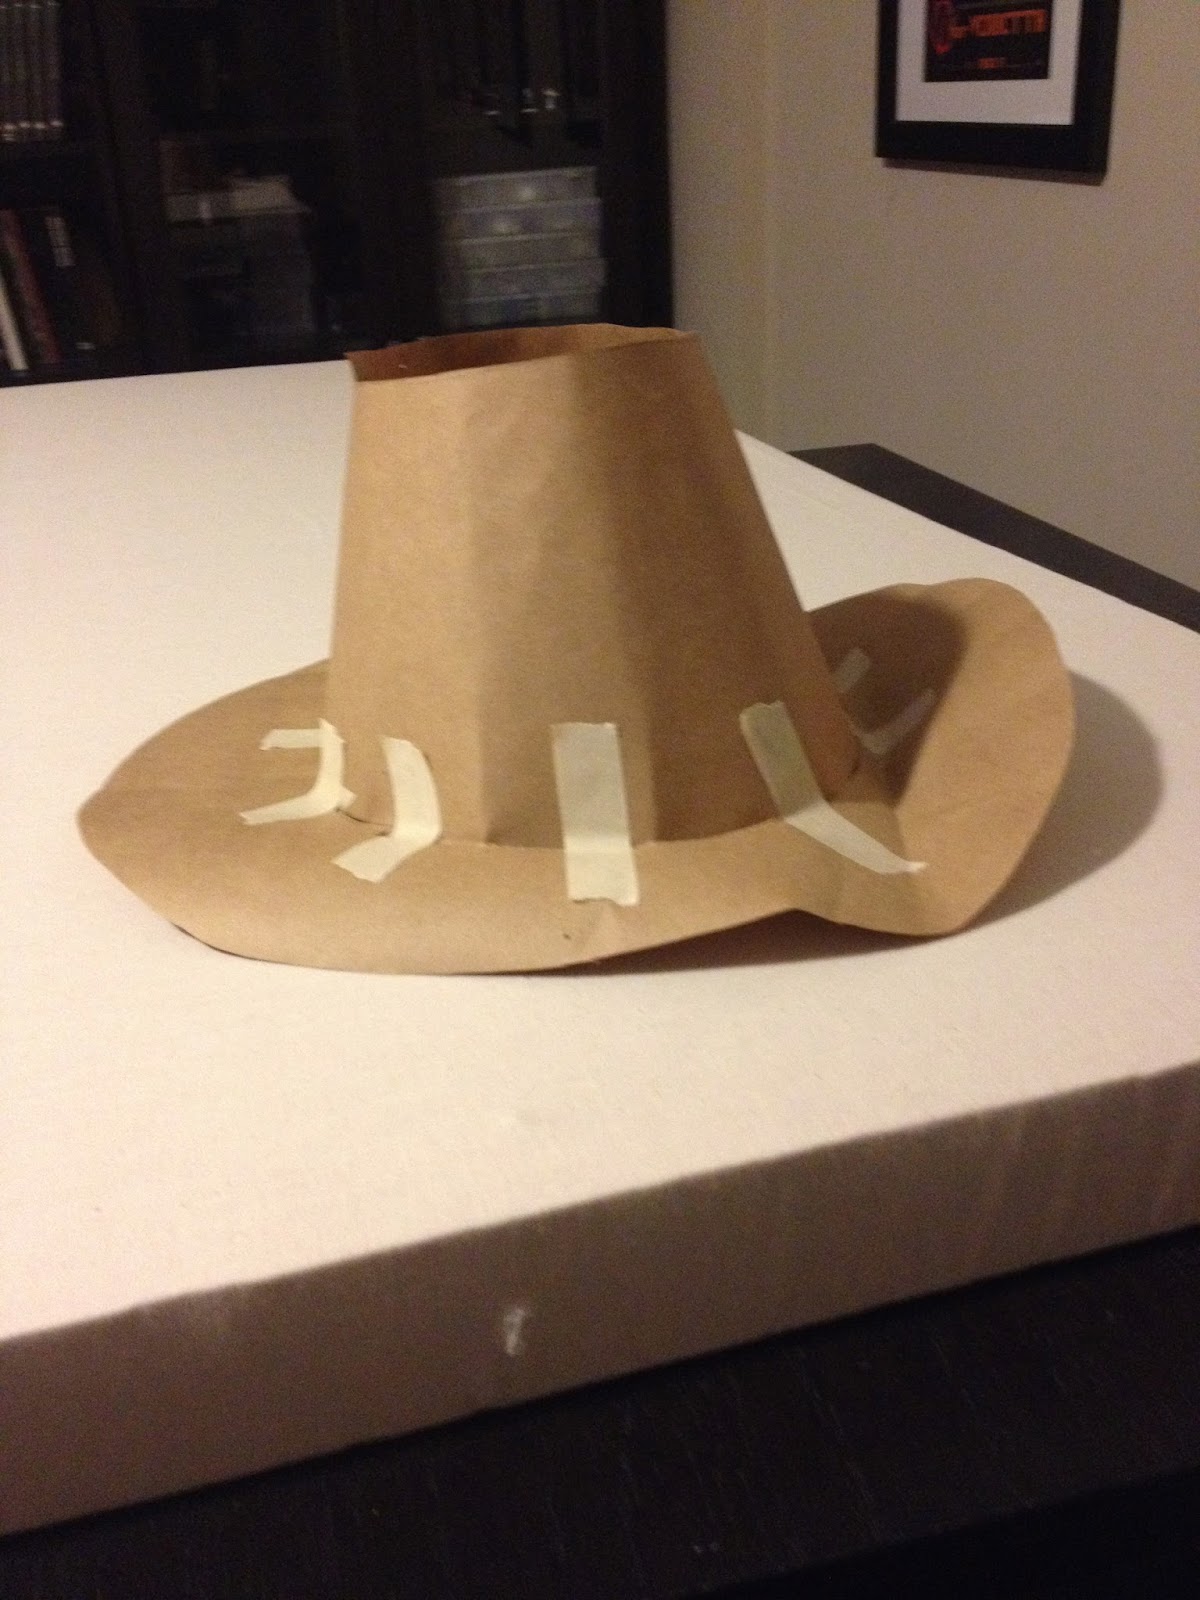
This is the saga of my hat for Historical Sewing's 1880s bustle hat class. This was a buckram frame hat using Truly Victorian's TV550 pattern. Nothing is ever simple for me *sigh* and the first thing that I had to do upon starting this project was size the pattern up for my 24" circumference head. I know this style is supposed to be a "perch" hat, but I also wanted it to be in proportion to my head. Jay did some calculations and determined that I needed to size things up to 106% so I scanned in the pattern pieces (or what parts of them would fit in our scanner), taped together the pieces parts and did a mock up in butcher's paper.
So far, so good!


Sam supervising the laying out on the buckram
The wire went on the buckram easily enough but I glued the flannel on and the bias tape around the edge. The glue did not want to come out of the bottle, so I got a small paint brush that I'd bought in case I was going to add metallic paint to the 1920s shoes and used the brush for this step. This was a big mistake. Huge. I should not be trusted with glue or paint (or home hair dye). Despite my best intentions, I end up like a 4 year old finger painting. I was decidedly unthrilled with the end result... even though the fashion fabric would be covering it.

Cutting out the fashion fabric.
90% of this was hand work and pushing the needle through crown buckram and pulling it out with pliers aggravated my carpal tunnel something fierce. Top that off with the brim opening being about 3/8" too large for the crown all around and I had to take a week's hiatus on the project. At that point I was pretty sure I was never going to make another hat again in my life.
But the week's rest for my wrist, a wrist brace (and some good advice from one of my classmates, who is a nurse, on taking ibuprofen proactively to reduce the inflammation) and I was back at it. This time, the brim went together much tidier and fit the crown perfectly. Attaching brim to crown was no problem whatsoever and I found myself with a finished -albeit un-decorated - hat.

One hat. Desperately seeking trim
I'd known more or less what I wanted to do from the beginning of the class. Despite the 1880s being a period of "more is not enough" trim wise, I was drawn to the slightly more austere style of hats like these.

Mrs Harris from floridamemory.com

c. 1885 from metmuseum.org
And still being in the throes of my black and white stripe addiction, of course, there would be striped ribbon. I may have *blush* even chosen the blue fabric because it would set off the black and white stripes so well. The rhinestone buckle was a glorious find in my favorite local fabric store for $3.00. The ribbon itself is frankenstein-ed by stitching 2 pieces of the black and white striped ribbon together lengthwise and then edging each side with a narrower piece of black grosgrain.


The finished hat
All in all, I am pleased with the result and will probably end up making more buckram framed hats in the future, despite all my swearing to the contrary.
The challenge: #7 Tops and Toes
Fabric: Silk dupioni, grosgrain ribbon, crown buckram, flannel (for the mulling)
Pattern: Truly Victorian TV550 1880s Buckram frame hat
Year: 1880s
Notions: millinery wire, millinery needles, bias tape
How historically accurate is it? I honestly haven't researched if they had buckram framed hats in the 1880s. I did do a good bit of research to determine trimming that felt period appropriate.
Hours to complete: far too many!
First worn: I don't even have an 1880s dress to wear this with, but it was still a fun project
Total cost: approx $45 USD ($22 for a basic millinery kit from Judith M Millinery Supply. $10 for half a yard of crown buckram (also from Judith M), $11.99 for a yard of silk, $2.50 for a yard of flannel. Pattern, ribbon and feathers were from stash)
No comments:
Post a Comment